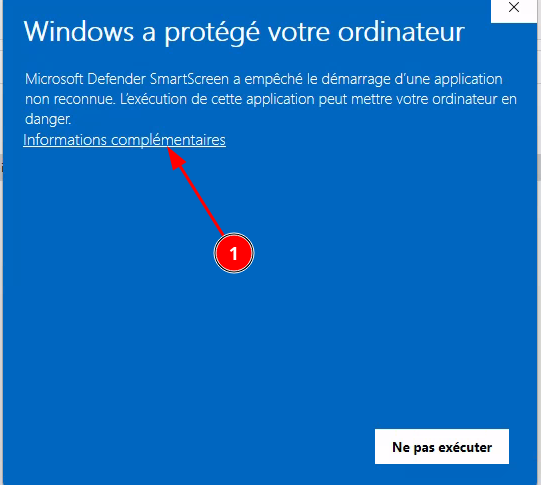
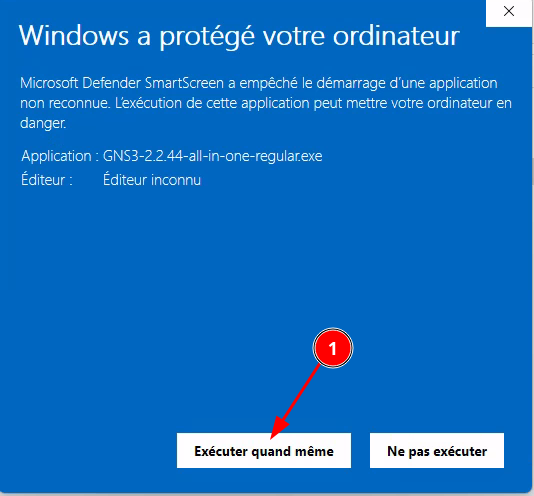
Sur windows11 il se peut qu'une popup vous informe d'un danger potentiel -> éxecutez l'installateur quand même.
[](https://book.techoops.fr/uploads/images/gallery/2023-11/YZhimage.png)
[](https://book.techoops.fr/uploads/images/gallery/2023-11/QD8image.png)
- Sélectinnez les bonnes options [](https://book.techoops.fr/uploads/images/gallery/2023-11/q4Rimage.png) [](https://book.techoops.fr/uploads/images/gallery/2023-11/hdPimage.png) [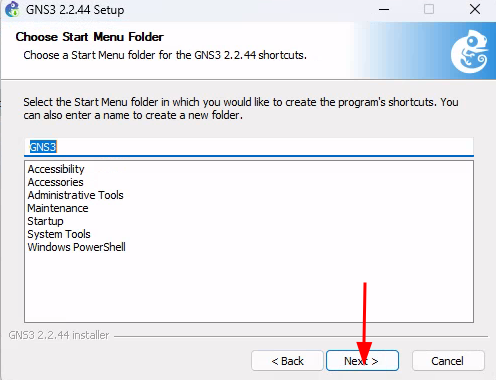](https://book.techoops.fr/uploads/images/gallery/2023-11/XzLimage.png) [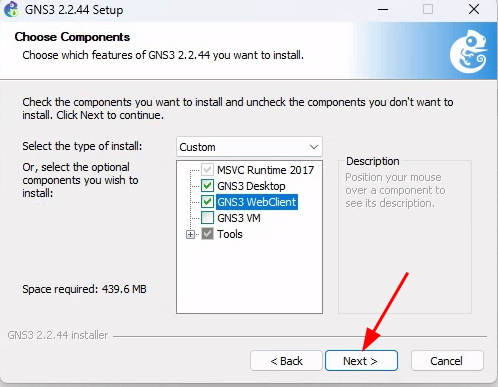](https://book.techoops.fr/uploads/images/gallery/2023-11/bBuimage.png) [](https://book.techoops.fr/uploads/images/gallery/2023-11/LIbimage.png) [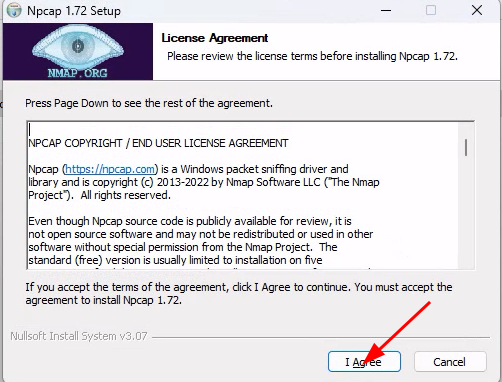](https://book.techoops.fr/uploads/images/gallery/2023-11/zBkimage.png) [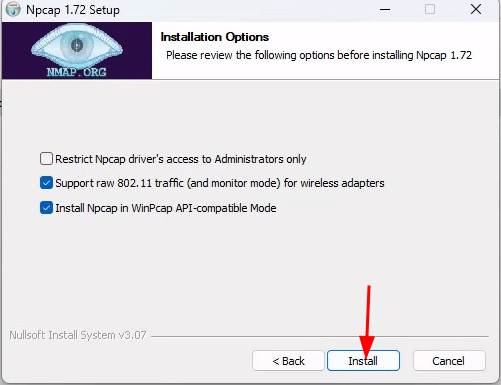](https://book.techoops.fr/uploads/images/gallery/2023-11/449image.png) [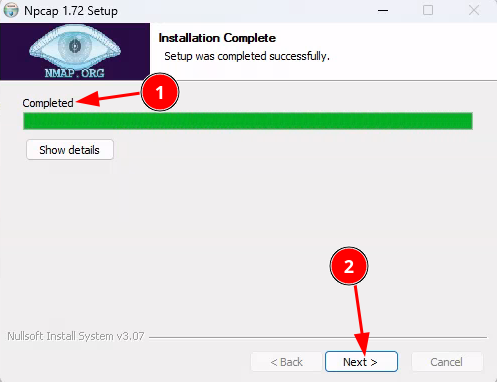](https://book.techoops.fr/uploads/images/gallery/2023-11/Rv8image.png) [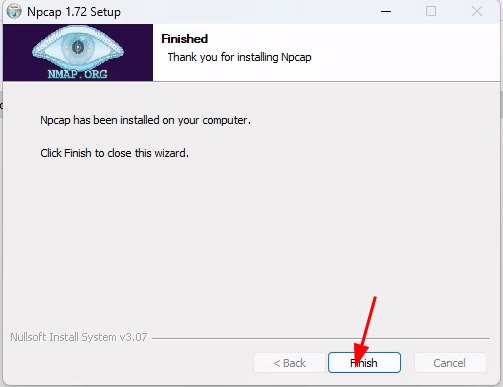](https://book.techoops.fr/uploads/images/gallery/2023-11/ghnimage.png) [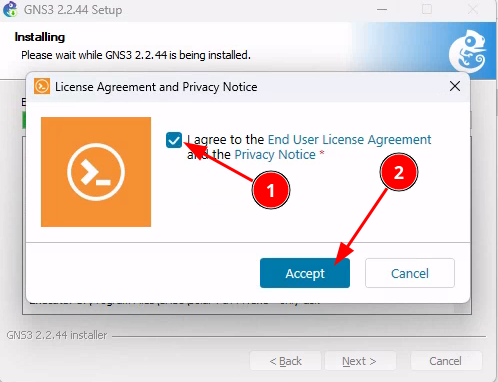](https://book.techoops.fr/uploads/images/gallery/2023-11/1UAimage.png) [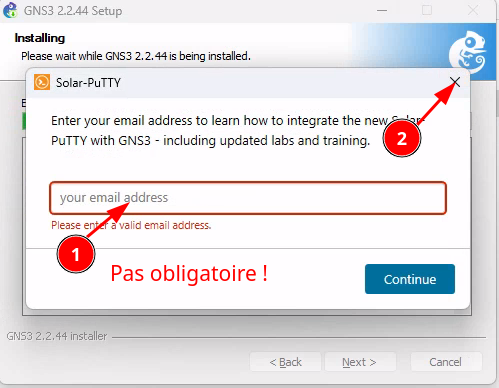](https://book.techoops.fr/uploads/images/gallery/2023-11/HK1image.png) [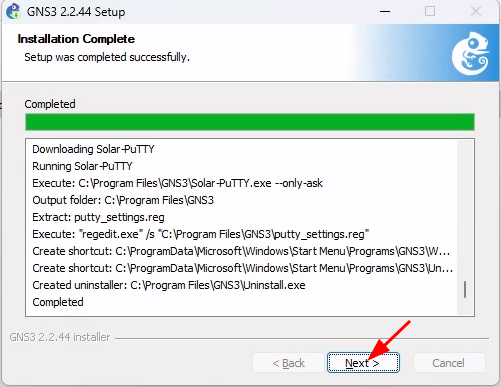](https://book.techoops.fr/uploads/images/gallery/2023-11/l8eimage.png) [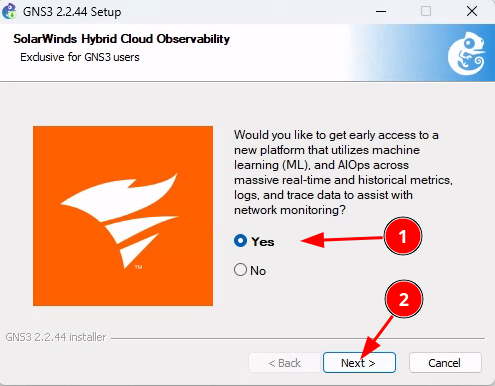](https://book.techoops.fr/uploads/images/gallery/2023-11/WUvimage.png) [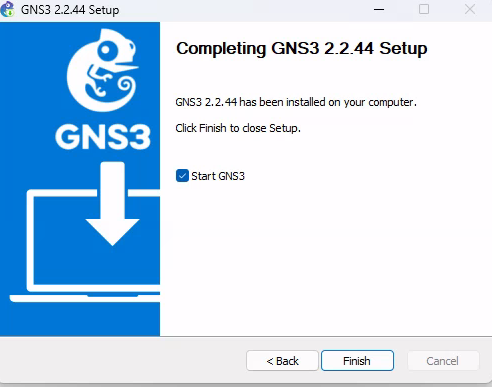](https://book.techoops.fr/uploads/images/gallery/2023-11/V9kimage.png) [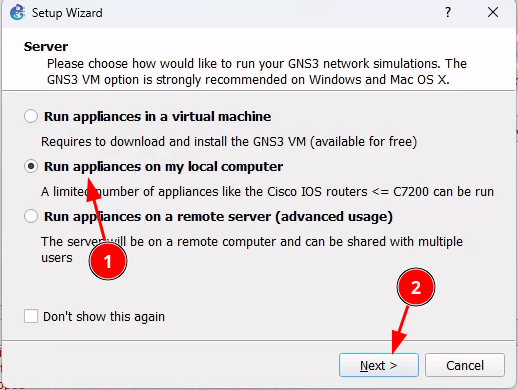](https://book.techoops.fr/uploads/images/gallery/2023-11/lv0image.png) [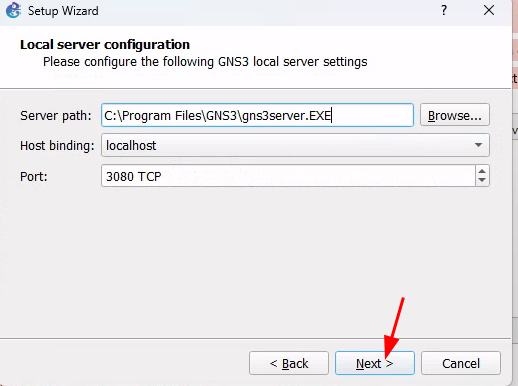](https://book.techoops.fr/uploads/images/gallery/2023-11/pA1image.png) - Voila GNS3 est installé [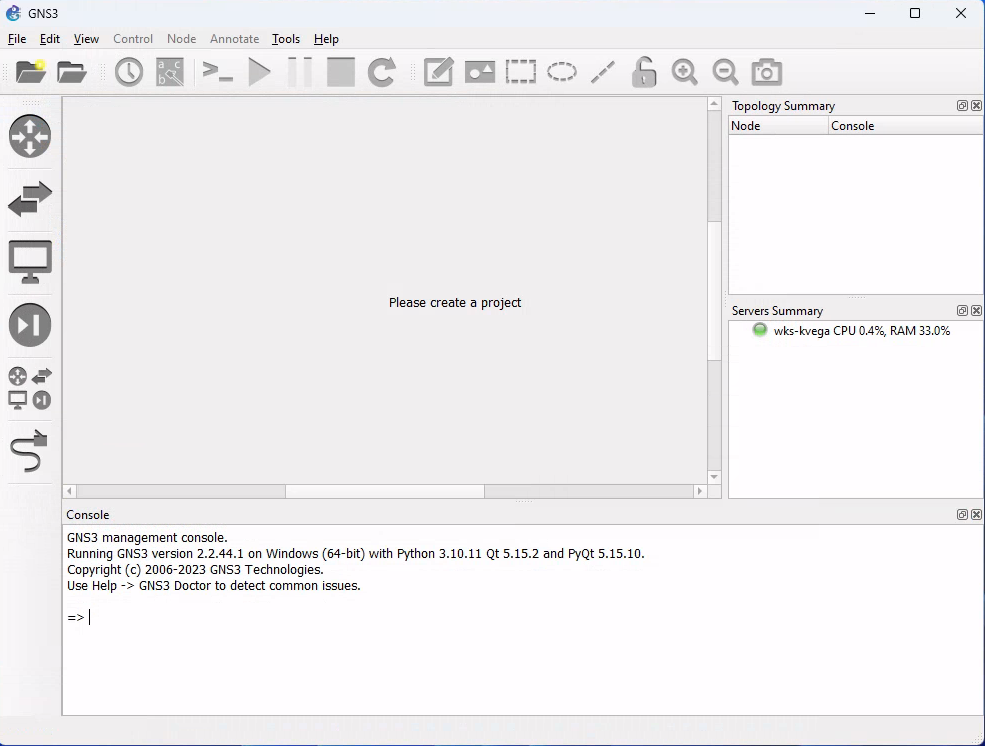](https://book.techoops.fr/uploads/images/gallery/2023-11/Tr7image.png) - Comme vous pouvez le constater à ce stade vous ne pouvez pas utiliser tout les routeur. ### Problème rencontré[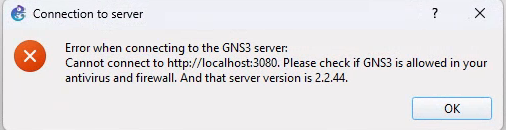](https://book.techoops.fr/uploads/images/gallery/2023-11/3uWimage.png)
Si vous avez cette erreur alors autoriser GNS3 sur le Pare-feu Windows[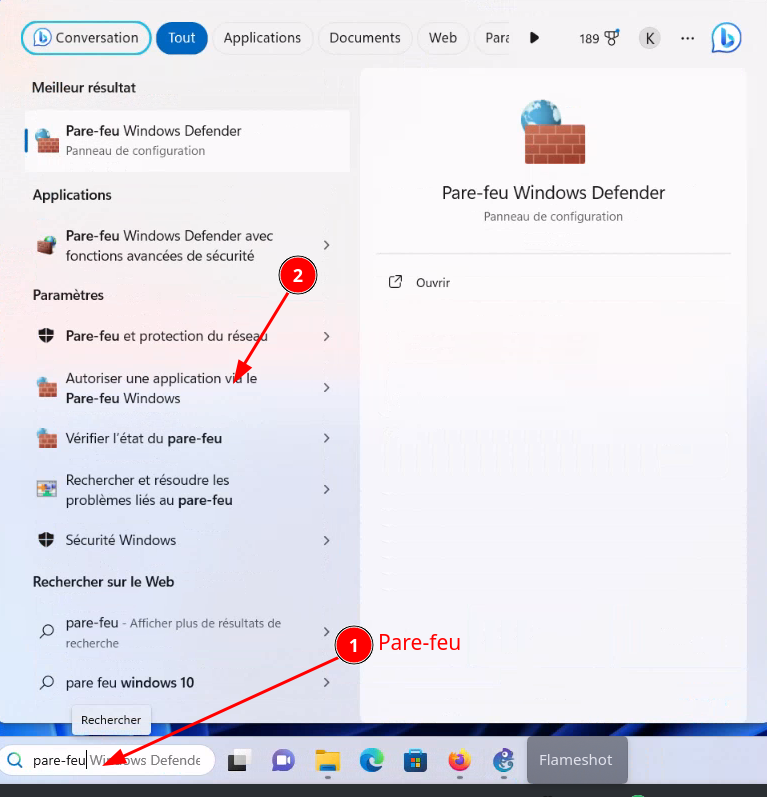](https://book.techoops.fr/uploads/images/gallery/2023-11/6t9image.png)
[](https://book.techoops.fr/uploads/images/gallery/2023-11/B4Oimage.png)
[](https://book.techoops.fr/uploads/images/gallery/2023-11/Mz3image.png)
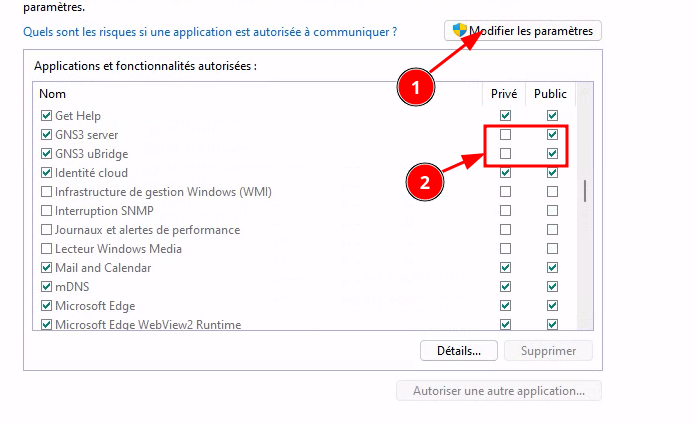
[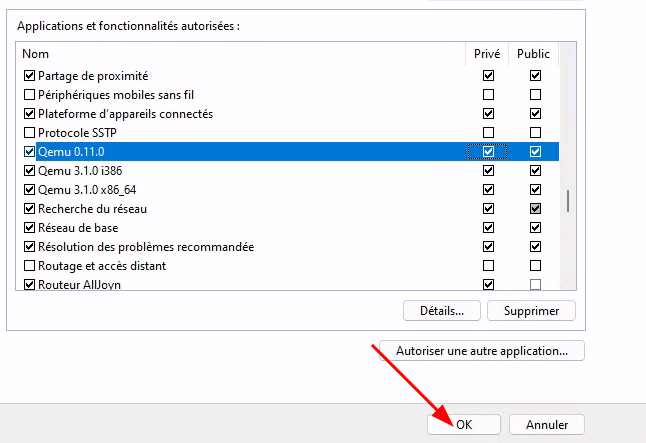](https://book.techoops.fr/uploads/images/gallery/2023-11/nG7image.png) Après un redémarrage de GNS3 tout rentrera dans l'ordre. **PS: Pensez aussi à faire les mises à jours Windows.**
# Installation de GNS3 VM sur WINDOWS #### Prérequis - Avoir un logiciel de virtualisation (Virtualbox ou VmWare Workstation) - 2 processeur - 4 GB de RAM pour la VM - 35 GB de stockage #### Installation - Télécharger la bonne version de vm [GNS3 vm](https://gns3.com/software/download-vm) (Selectionner la bonne version) [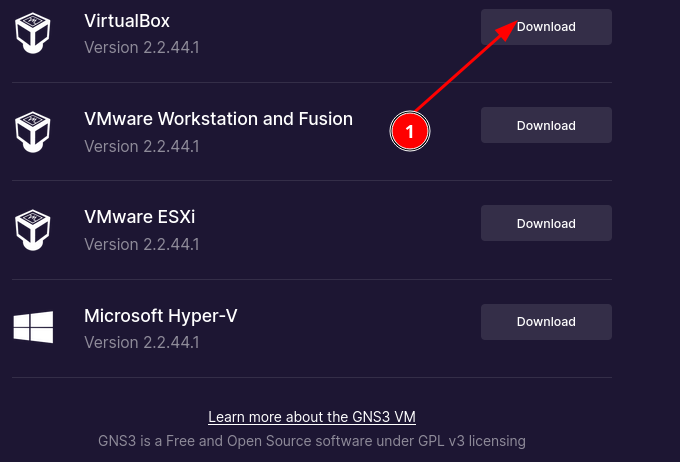](https://book.techoops.fr/uploads/images/gallery/2023-11/dVNimage.png) - Aller dans votre dossier de téléchargement et dézipper l'archive. - Importez le .ova [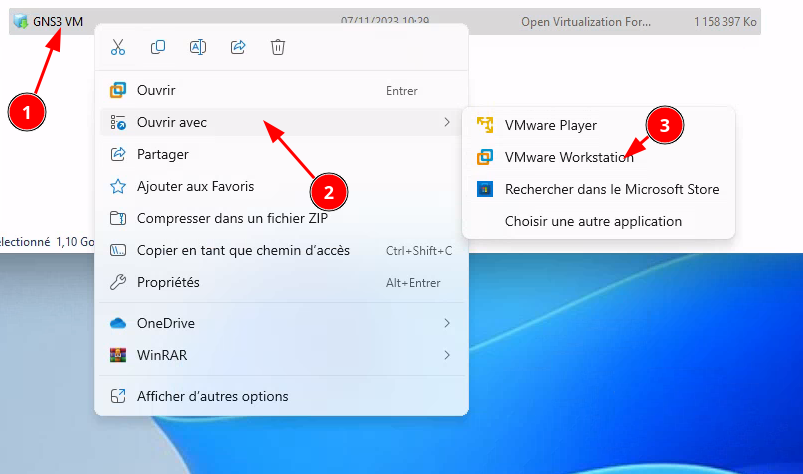](https://book.techoops.fr/uploads/images/gallery/2023-11/7Xdimage.png) - Attendez l'import - Une fois importée, démarrée la Vm et accédez à la console pour y récupérer l'IP affichée [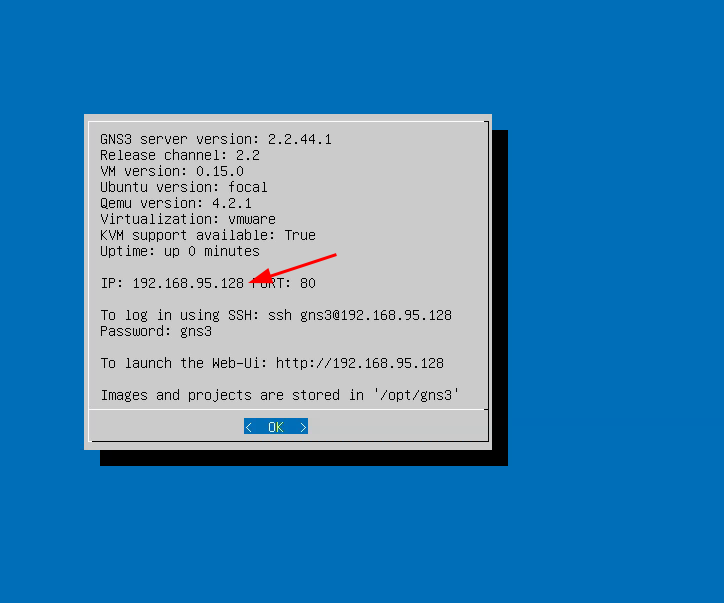](https://book.techoops.fr/uploads/images/gallery/2023-11/6cgimage.png) - Démarrer GNS3 et allez dans les paramètres pour y paramétrer GNS3 VM [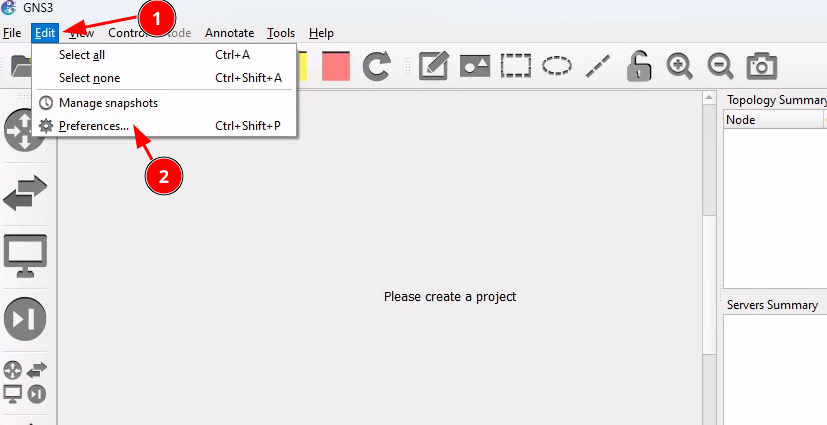](https://book.techoops.fr/uploads/images/gallery/2023-11/3Ldimage.png) [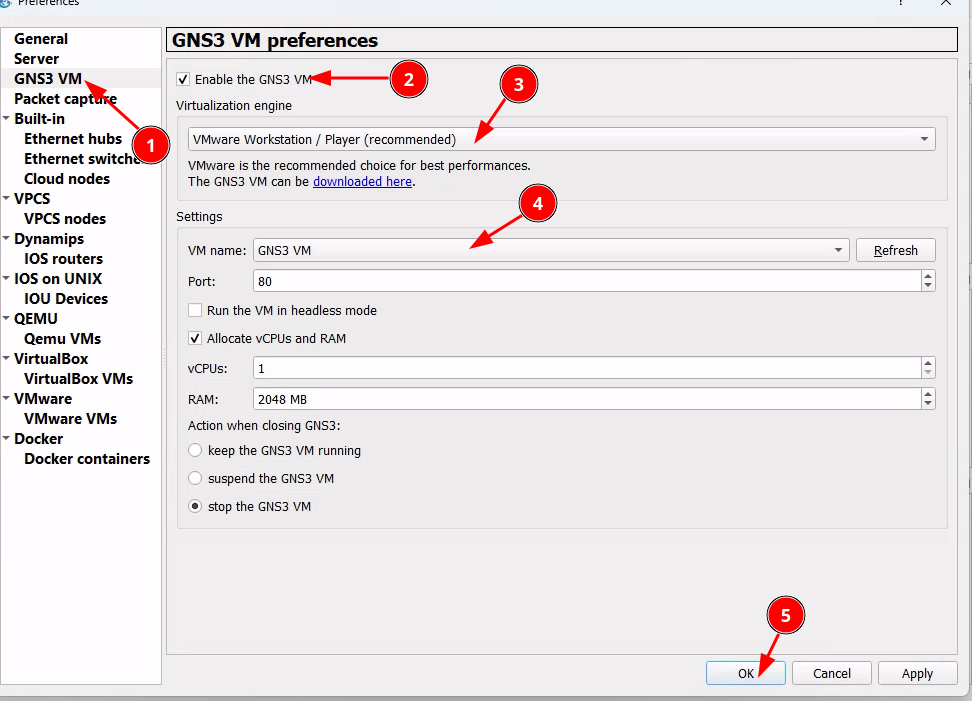](https://book.techoops.fr/uploads/images/gallery/2023-11/Pjzimage.png) - Si tout c'est bien passé vous devriez voire apparaître le serveur local et la VM en vert [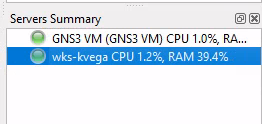](https://book.techoops.fr/uploads/images/gallery/2023-11/hVkimage.png) # AJOUT DE TEMPLATE # Ajout template Debian --- #### PREREQUIS - Avoir GNS3 et GNS3VM d'installé - Avoir une connection internet --- #### AJOUT DU TEMPLATE [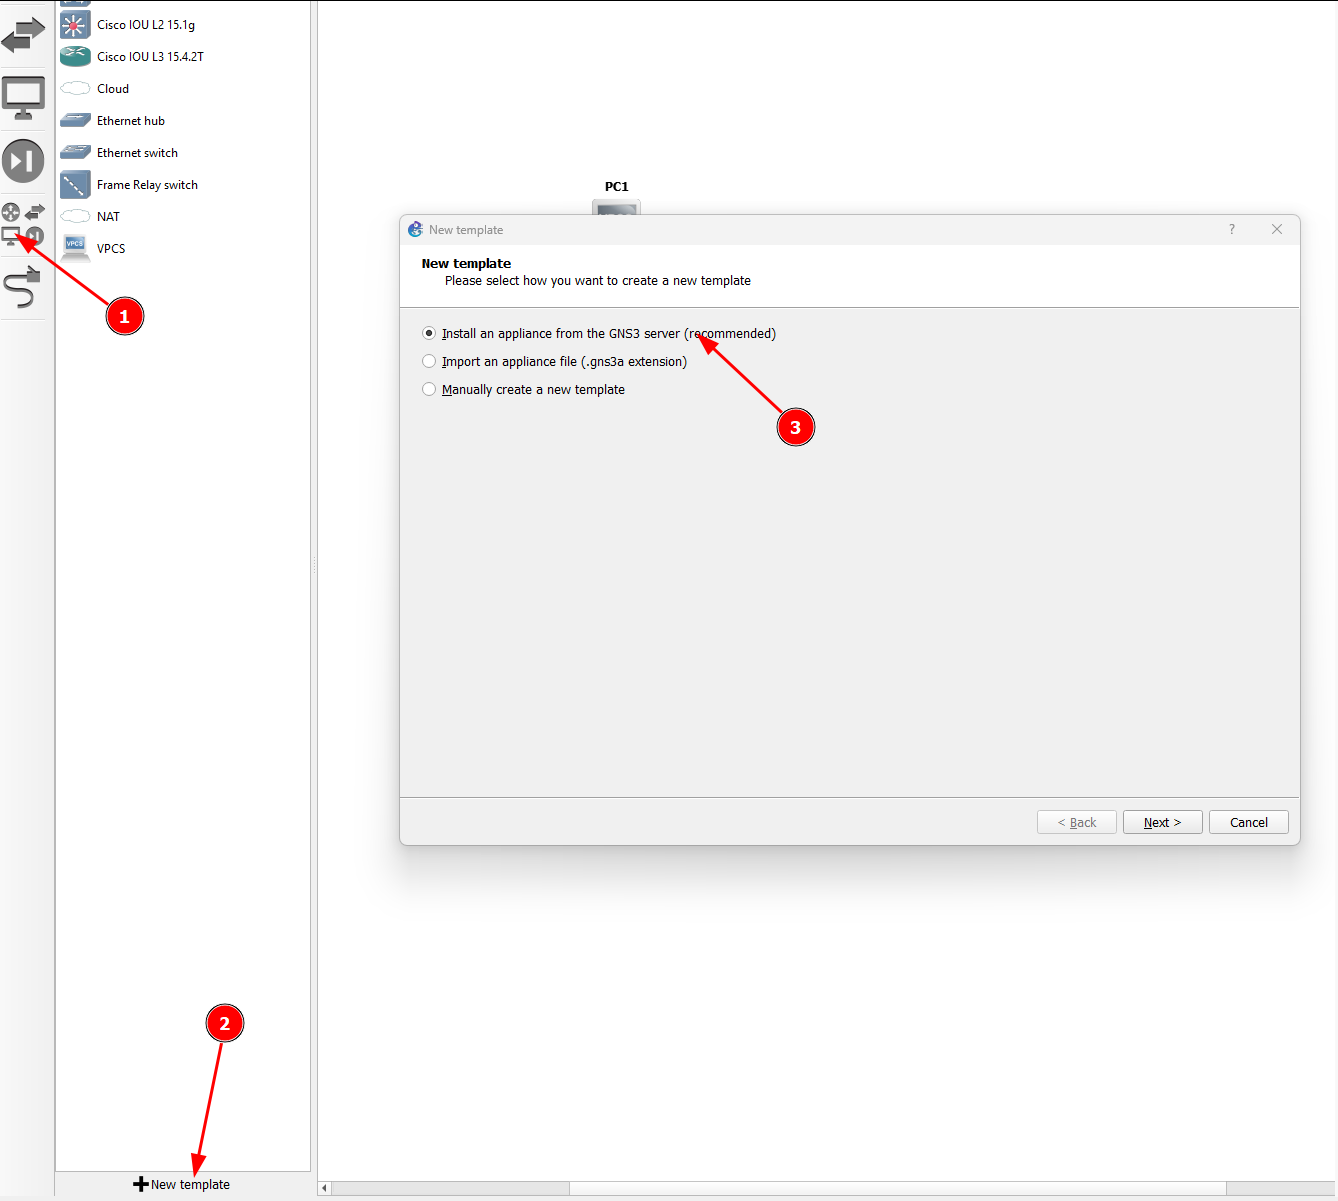](https://book.techoops.fr/uploads/images/gallery/2024-01/image.png) [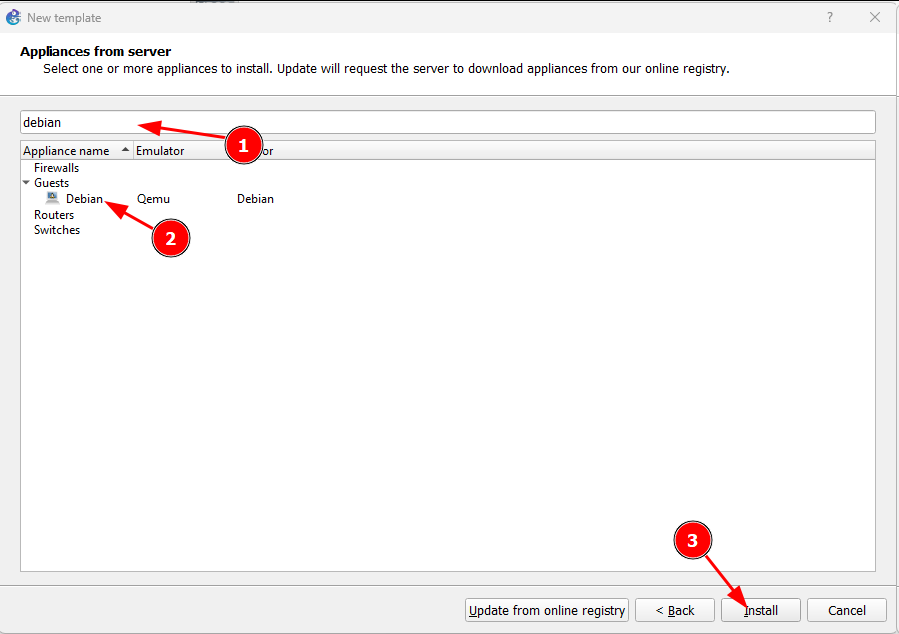](https://book.techoops.fr/uploads/images/gallery/2024-01/Eraimage.png) [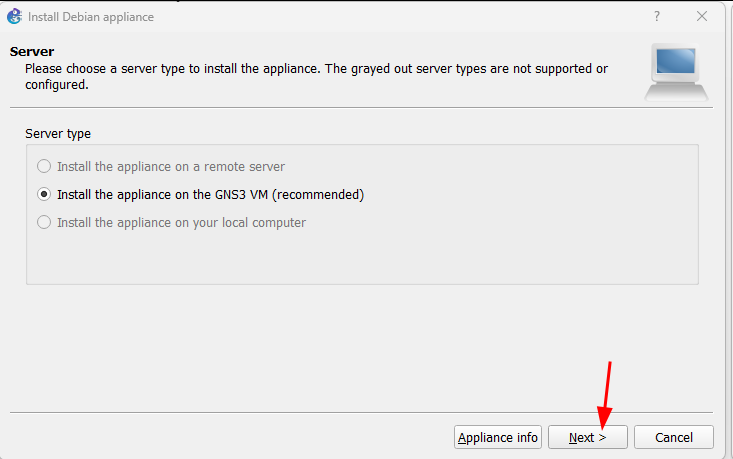](https://book.techoops.fr/uploads/images/gallery/2024-01/V6Vimage.png) [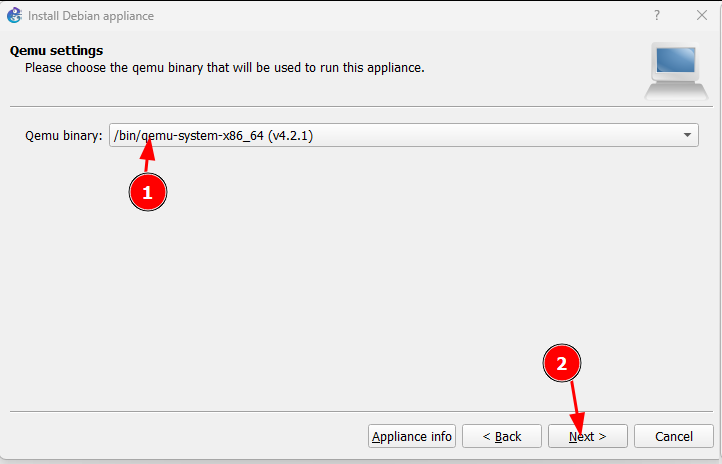](https://book.techoops.fr/uploads/images/gallery/2024-01/Nk2image.png) [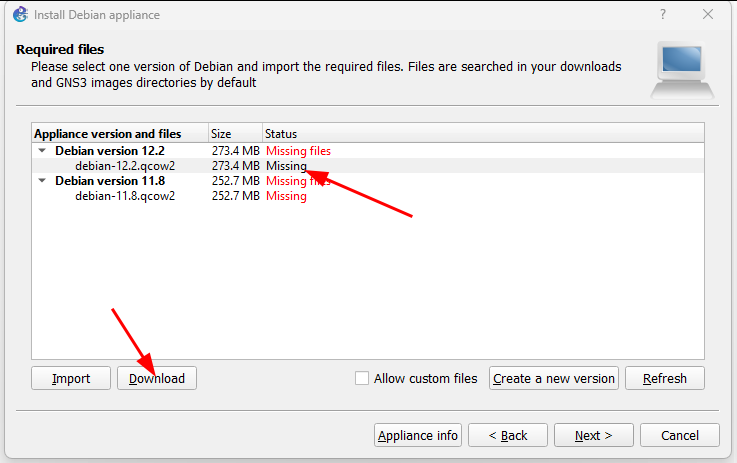](https://book.techoops.fr/uploads/images/gallery/2024-01/16aimage.png) Une fois télécharger on pourra alors l'ajouter [](https://book.techoops.fr/uploads/images/gallery/2024-01/M0Vimage.png) Attendre la fin de l'import et terminer [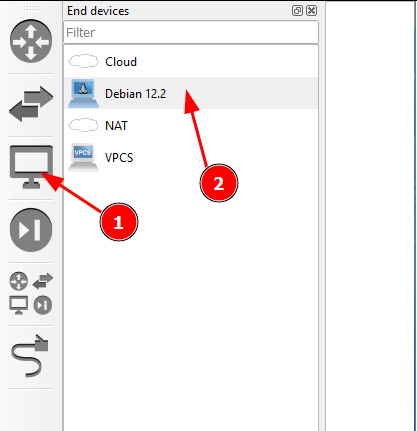](https://book.techoops.fr/uploads/images/gallery/2024-01/zjVimage.png) --- #### PREMIER DEMARRAGE 1. Faire le shcéma suivant [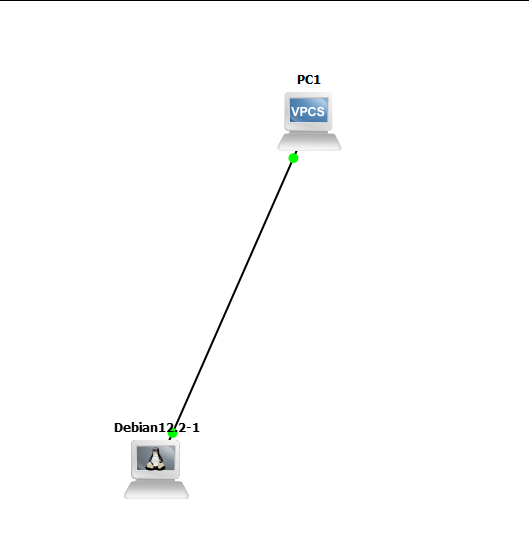](https://book.techoops.fr/uploads/images/gallery/2024-01/5n8image.png) 2. Paramétrer le VPC avec pour ip 192.168.1.1/30 3. Paramétrage du serveur DEBIAN 1. L'authentification se fait avec l'utilistateur debian et le mot de passe debian 2. Passer de l'utilisateur debian a root `sudo -i` 3. Pour le moment pas de réseau, il va falloir le paramétrer. Il faut modifier le fichier `/etc/network/interfaces` et y mettre l'IP désirée: ```bash # Static config for ens4 auto ens4 iface ens4 inet static address 192.168.1.2 netmask 255.255.255.252 # gateway 192.168.1.1 # dns-nameservers 192.168.1.1 ``` 4. Monter la carte réseau: ` ifup ens4` 5. Le serveur a maintenant une IP ```bash root@debian:~# ip a |grep ens4 2: ens4:Le serveur Debian est paramétrer au niveau du réseau !!
# AJOUT DE TEMPLATE SUR GNS3 VM #### Prérequis - Avoir installé GNS3 - Avoir installé GNS3 VM - Avoir des les ISOs dont vous avez besoins - Pour Cisco avoir le script de génération de licence #### Ajout d'un template - Ajoutez un template [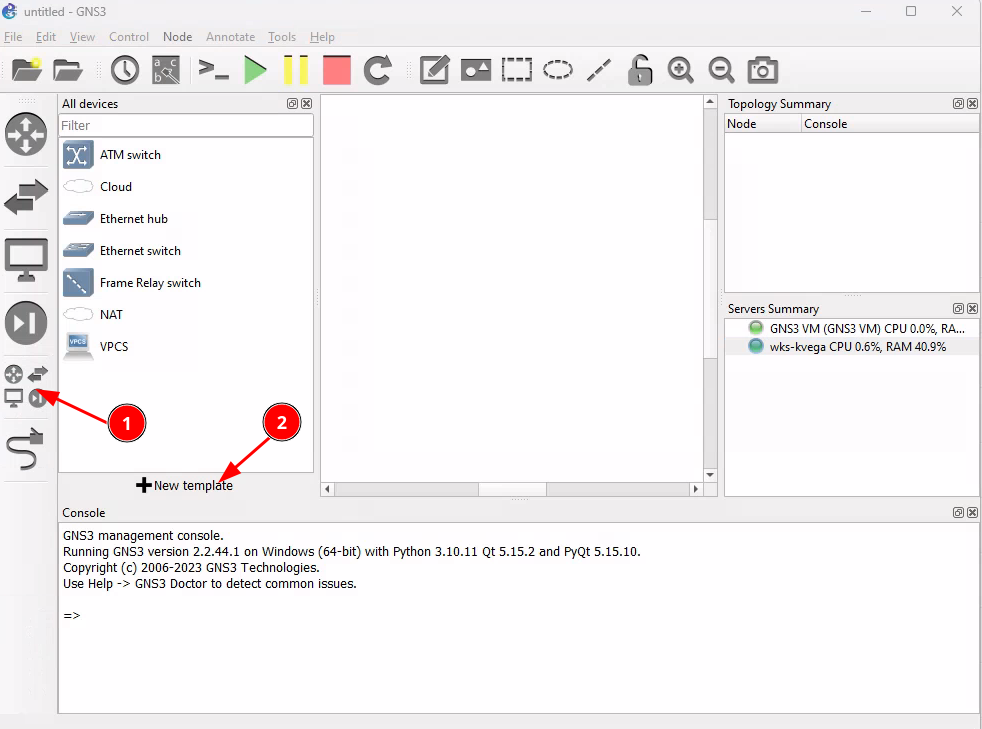](https://book.techoops.fr/uploads/images/gallery/2023-11/3gVimage.png) [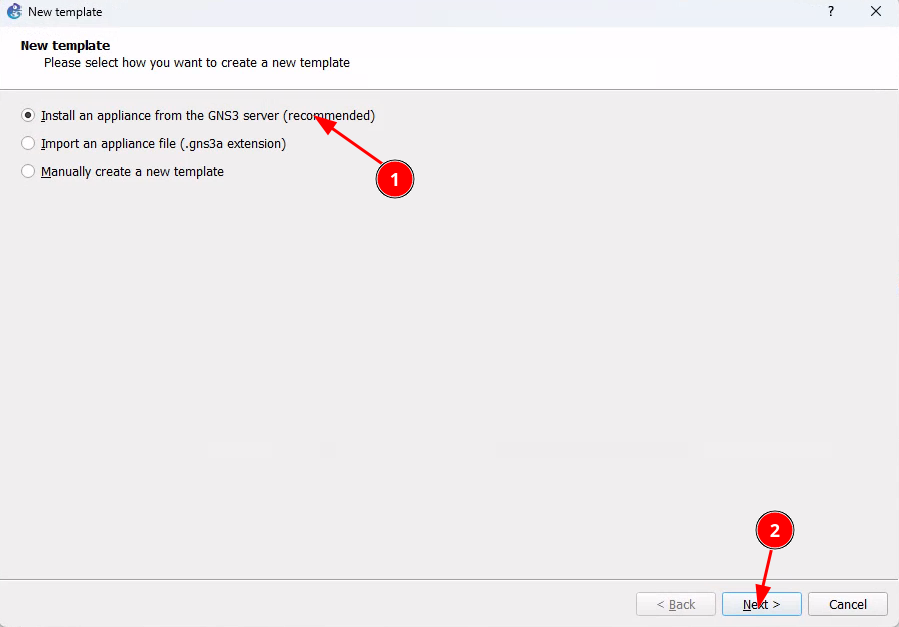](https://book.techoops.fr/uploads/images/gallery/2023-11/zJfimage.png) - Mettez à jour la registry [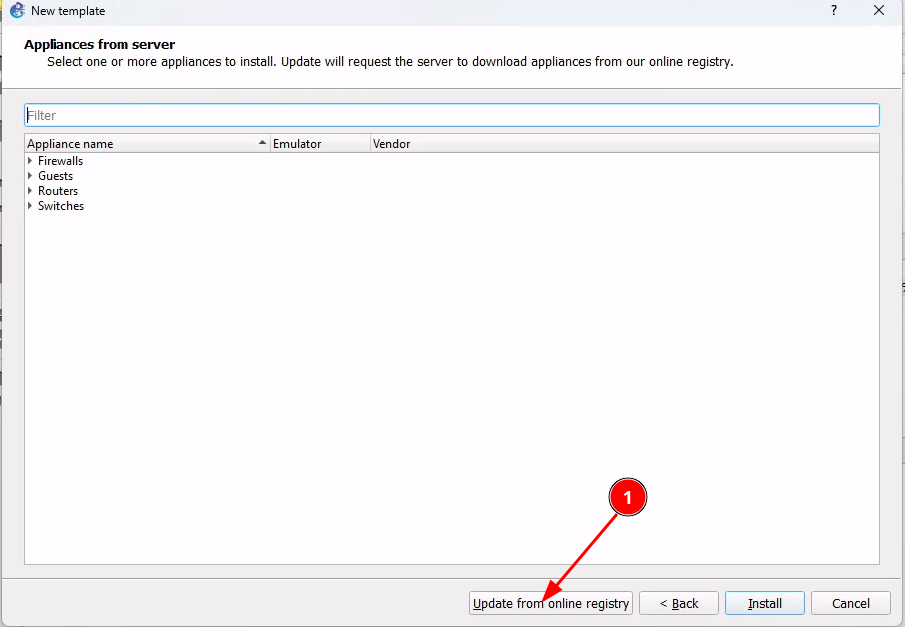](https://book.techoops.fr/uploads/images/gallery/2023-11/wLLimage.png) - Sélectionnez le template qu'il vous faut [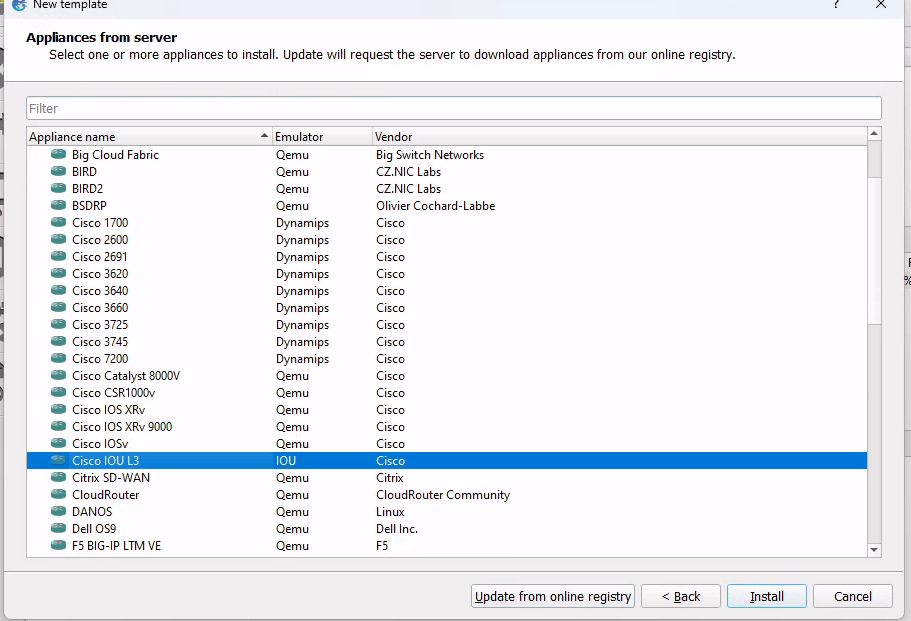](https://book.techoops.fr/uploads/images/gallery/2023-11/V2gimage.png) [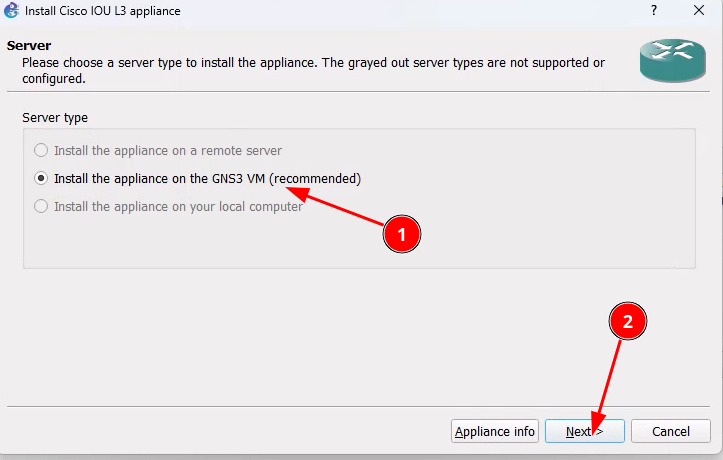](https://book.techoops.fr/uploads/images/gallery/2023-11/7Smimage.png) - Il se peut que votre version ne soit pas la bonne dans ce cas créée la nouvelle version [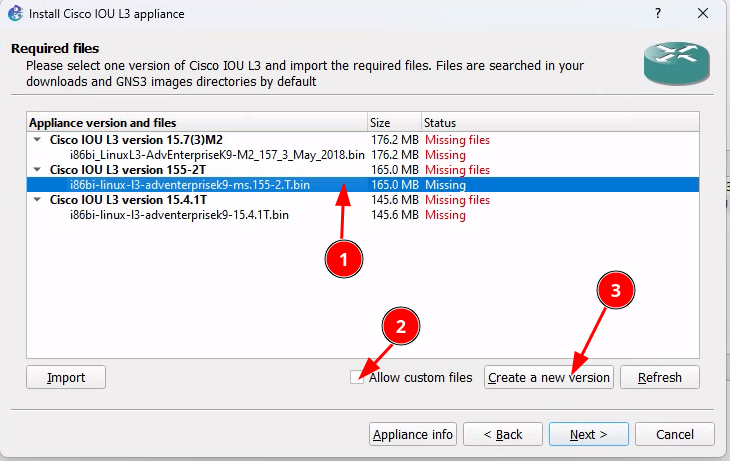](https://book.techoops.fr/uploads/images/gallery/2023-11/m42image.png) [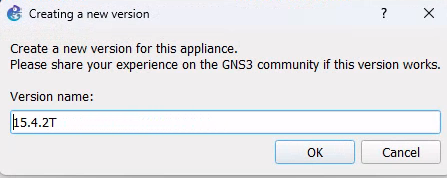](https://book.techoops.fr/uploads/images/gallery/2023-11/G5qimage.png) [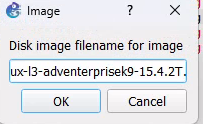](https://book.techoops.fr/uploads/images/gallery/2023-11/3vJimage.png) - Importez l'image [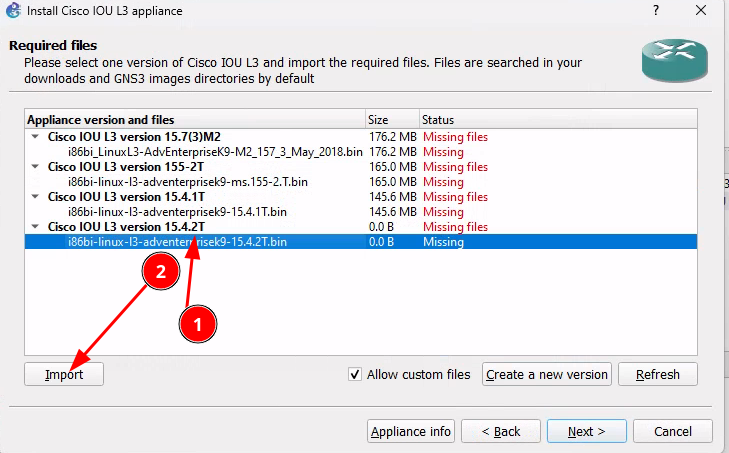](https://book.techoops.fr/uploads/images/gallery/2023-11/yciimage.png) [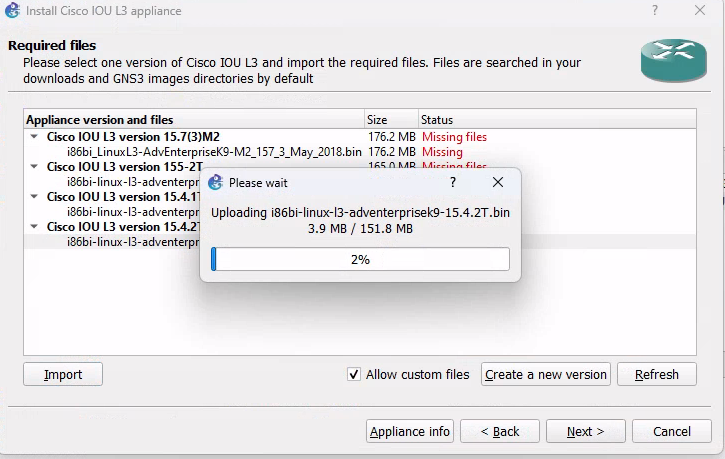](https://book.techoops.fr/uploads/images/gallery/2023-11/Ohcimage.png) - Installez l'image [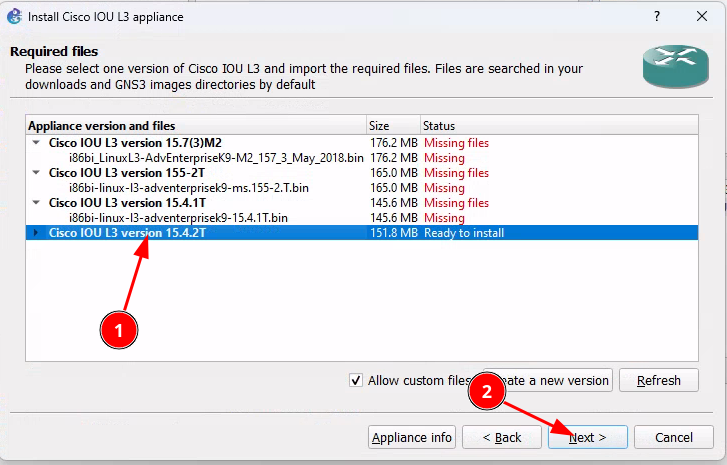](https://book.techoops.fr/uploads/images/gallery/2023-11/HTXimage.png) - A cette étape vous ne pourrez pas démarrer le routeur car vous n'avez pas la license [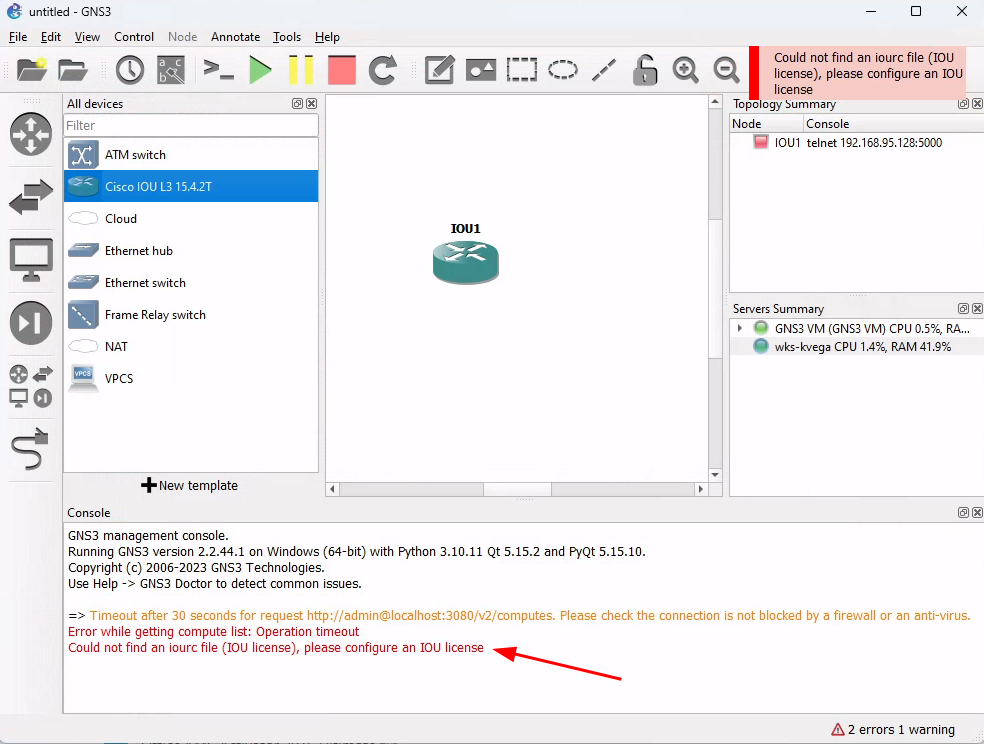](https://book.techoops.fr/uploads/images/gallery/2023-11/uqlimage.png) #### Ajout de la licence Cisco - Connectez-vous au serveur en sftp via la console CMD - L'Ip pour la connexion à la VM GNS3 est disponible depuis la console de la VM - Déplacez vous dans le répertoire contenant le script python - ```bash sftp gns3@192.168.95.128 ``` - Envoyez le fichier sur la VM ```powershell C:\Users\kvega\Documents>sftp gns3@192.168.95.128 The authenticity of host '192.168.95.128 (192.168.95.128)' can't be established. ED25519 key fingerprint is SHA256:L6yg+SeXGwPI6JsYFu4q4uNLRRisd100BdY/gJAGJNw. This key is not known by any other names Are you sure you want to continue connecting (yes/no/[fingerprint])? Warning: Permanently added '192.168.95.128' (ED25519) to the list of known hosts. gns3@192.168.95.128's password: Connected to 192.168.95.128. sftp> put CiscoIOUKeygen3f.py Uploading CiscoIOUKeygen3f.py to /home/gns3/CiscoIOUKeygen3f.py CiscoIOUKeygen3f.py ``` - Se connecter à la Vm en ssh [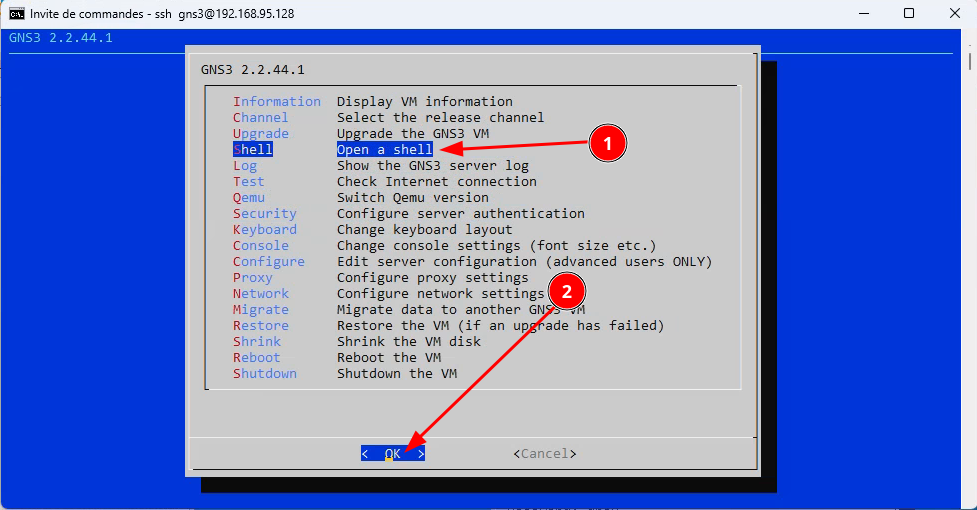](https://book.techoops.fr/uploads/images/gallery/2023-11/4wgimage.png) - Exécutez le script [](https://book.techoops.fr/uploads/images/gallery/2023-11/Sqyimage.png) - Le retour du script nous indique de mettre un bloc d'instruction dans un fichier .iourc - Copiez le bloc - ajouter le dans le fichier .iourc [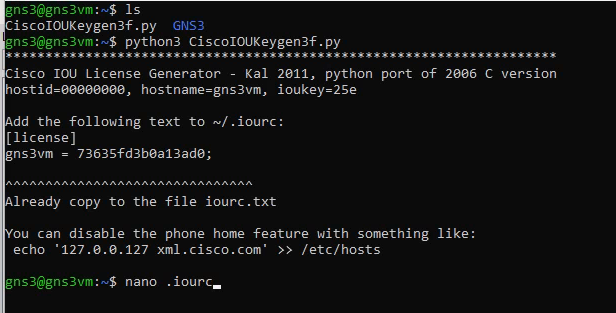](https://book.techoops.fr/uploads/images/gallery/2023-11/GELimage.png) [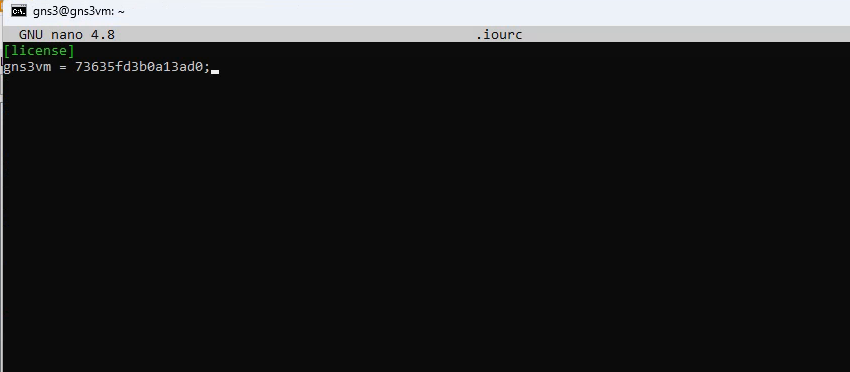](https://book.techoops.fr/uploads/images/gallery/2023-11/pMbimage.png) - Faites CTRL+x pour quitter le fichier - Tentez de démarrer le router ajouté [](https://book.techoops.fr/uploads/images/gallery/2023-11/O49image.png)[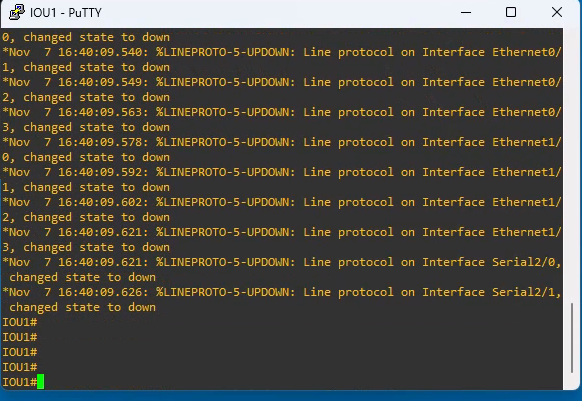](https://book.techoops.fr/uploads/images/gallery/2023-11/cXBimage.png) Le Routeur est bien démarré !!
# MISE EN PLACE DU NAT (accés internet) #### Prérequis: *Il faut avoir L'application GNS3 installée et la VM aussi. A l'heure actuelle les version que j'utilise pour ce TP sont:* - *GNS3 SERVER = 2.2.49* - *GNS3 VM = 2.2.49* - *Avoir le template Debian sur la[ VM GNS3](https://book.techoops.fr/books/gns3/page/ajout-template-debian "Template Debian sur GNS3")* - *Avoir un template Cisco iou L3 sur la [VM GNS3](https://book.techoops.fr/books/gns3/page/ajout-de-template-sur-gns3-vm "Ajout template cisco sur GNS3 VM")* #### Schéma à mettre en place pour ce tutoriel: [](https://book.techoops.fr/uploads/images/gallery/2024-09/image.png) #### Paramétrage de Debian pour l'accès à internet: 1. S'assurer que la machine est bien démarrée 2. Se connecter sur la machine en telnet (Double clic sur la machine) L'utilisateur est debian et le mot de passe debian aussi [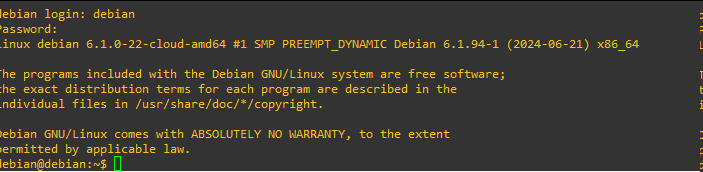](https://book.techoops.fr/uploads/images/gallery/2024-09/pryimage.png) 3. Passer en mode superutilisateur ```bash debian@debian:~$ sudo -i root@debian:~# ``` 4. On va maintenant paramétrer le réseau de la machine en dhcp 1. Editer le fichier de configuration ```bash root@debian:~# nano /etc/network/interfaces ``` 2. Décommenter les lignes suivantes (Comprendre supprimer les # en début de ligne): 1. Avant: [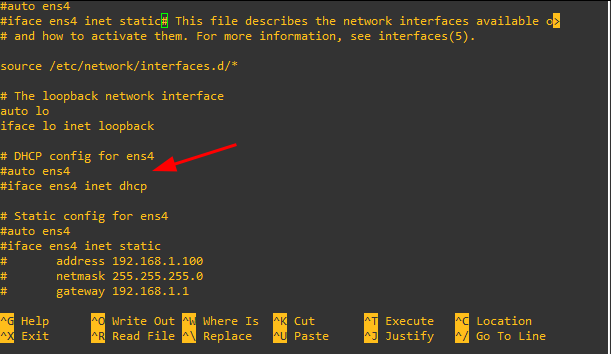](https://book.techoops.fr/uploads/images/gallery/2024-09/gvbimage.png) 2. Après: [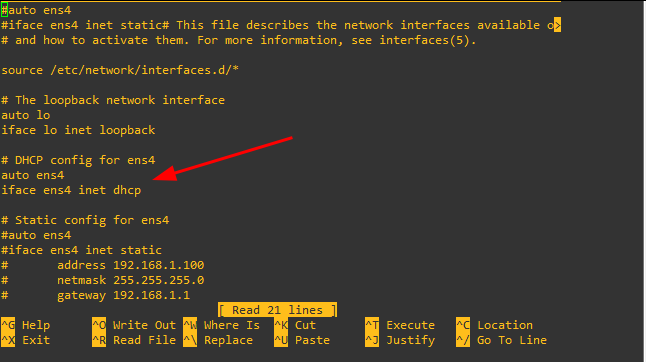](https://book.techoops.fr/uploads/images/gallery/2024-09/fLlimage.png) 3. Enregistrer et quiter 3. Redémarrer le service réseau ```bash root@debian:~# systemctl restart networking.service ``` 4. Vérifier que la machine à bien reçu une adresse IP: ```bash root@debian:~# ip a |grep ens4 2: ens4:Le PING passe bien vers internet le NAT est donc fontionnel
#### Paramétrage d'un routeur CISCO pour l'accès à internet: 1. S'assurer que la machine est bien démarrée 2. Passer en mode configuration ```bash R1#configure terminal Enter configuration commands, one per line. End with CNTL/Z. R1(config)# ``` 3. Paramétrer le réseau de la carte Ethernet brancher sur le NAT pour moi c'est la Ethernet 0/0 ```bash R1(config)#interface ethernet 0/0 R1(config-if)# ``` 4. Configurer l'interface en mode dhcp ```bash R1(config-if)#ip address dhcp ``` 5. Si vous n'avez rien fait l'interface doit être down ```bash R1(config-if)#do show ip int brief | include ^Ethernet0/0 Ethernet0/0 unassigned YES manual administratively down down ``` 6. Allumer l'interface ```bash R1(config-if)#no sh R1(config-if)# *Sep 8 11:27:26.101: %LINK-3-UPDOWN: Interface Ethernet0/0, changed state to up *Sep 8 11:27:27.118: %LINEPROTO-5-UPDOWN: Line protocol on Interface Ethernet0/0, changed state to up R1(config-if)# *Sep 8 11:27:40.176: %DHCP-6-ADDRESS_ASSIGN: Interface Ethernet0/0 assigned DHCP address 192.168.122.118, mask 255.255.255.0, hostname R1 ``` On vois que l'interface Ethernet 0/0 a reçu une adresse IP sur la dernière ligne 7. Tester la connectivité ```bash R1(config-if)#do ping 8.8.8.8 Type escape sequence to abort. Sending 5, 100-byte ICMP Echos to 8.8.8.8, timeout is 2 seconds: .!!!! Success rate is 80 percent (4/5), round-trip min/avg/max = 18/20/24 ms ``` 8. Enregistrer la configuration ```bash R1(config-if)#do write memory Warning: Attempting to overwrite an NVRAM configuration previously written by a different version of the system image. Overwrite the previous NVRAM configuration?[confirm] Building configuration... [OK] ```